Replacing your cabin air filter in your 2017 Toyota Highlander is crucial for maintaining air quality and system performance, and millertoyota.net offers the parts and service expertise you need. We provide solutions to improve your vehicle’s air filtration, ensuring a fresher, healthier driving experience. Trust Miller Toyota in Boise, Idaho, for your automotive needs, where we deliver exceptional customer satisfaction.
1. Why Is Replacing the Cabin Air Filter Important for Your 2017 Toyota Highlander?
Replacing the cabin air filter in your 2017 Toyota Highlander is important because it directly impacts the air quality inside your vehicle. A clean filter ensures that you and your passengers breathe in fresh, clean air, free from dust, pollen, and other pollutants.
Maintaining a clean cabin air filter offers numerous benefits for your 2017 Toyota Highlander and its occupants. A fresh filter not only improves the air quality inside the vehicle but also enhances the efficiency of your car’s HVAC system. Here’s why it matters:
- Improved Air Quality: The primary job of the cabin air filter is to remove dust, pollen, spores, and soot from the air entering your Highlander’s cabin. Over time, these contaminants build up, reducing the filter’s effectiveness. Replacing the filter ensures that these particles are effectively trapped, providing cleaner air to breathe.
- Enhanced HVAC System Performance: A clogged cabin air filter restricts airflow, forcing your Highlander’s heating, ventilation, and air conditioning (HVAC) system to work harder. This can lead to reduced efficiency and potentially cause premature wear and tear on the system components. Replacing the filter restores proper airflow, allowing the HVAC system to operate efficiently.
- Odor Reduction: Cabin air filters often incorporate activated carbon, which helps to neutralize odors from outside sources, such as traffic fumes and agricultural activity. A fresh filter keeps the interior of your Highlander smelling clean and pleasant.
- Prevention of Respiratory Issues: Clean air is especially crucial for passengers with allergies or respiratory sensitivities. By regularly replacing the cabin air filter, you reduce the number of allergens and irritants circulating inside the vehicle, contributing to a more comfortable and healthier environment for everyone.
- Cost Savings: Maintaining a clean cabin air filter can prevent more costly repairs down the line. When the HVAC system doesn’t have to work as hard, it consumes less energy, which can lead to minor improvements in fuel efficiency. Moreover, preventing strain on the system components can extend their lifespan, reducing the likelihood of expensive repairs.
- Maintained Defroster Efficiency: A clean cabin air filter ensures that the defroster system operates effectively. Proper airflow is necessary to quickly clear the windshield and windows, improving visibility and safety, especially in cold or humid conditions.
2. What Tools and Materials Do You Need to Replace the Cabin Air Filter in a 2017 Toyota Highlander?
To replace the cabin air filter in your 2017 Toyota Highlander, you will need a few essential tools and materials to make the process smooth and efficient:
- New Cabin Air Filter: Purchase a replacement cabin air filter that is specifically designed for your 2017 Toyota Highlander. It’s advisable to opt for a genuine OEM (Original Equipment Manufacturer) Toyota part to ensure proper fit and performance. You can find these at millertoyota.net.
- Screwdriver Set: A set of screwdrivers, including both Phillips head and flathead types, may be necessary to remove any screws or fasteners that hold the glove compartment or filter housing in place.
- Pliers: Pliers can be helpful for removing any clips or fasteners that are difficult to handle by hand.
- Gloves: Wearing gloves will keep your hands clean and protect them from any dirt or debris inside the filter housing.
- Protective Eyewear: Safety glasses or goggles will protect your eyes from dust and particles that may be released when removing the old filter.
- Vacuum Cleaner (Optional): A small vacuum cleaner with a hose attachment can be used to clean out any loose debris or dust inside the filter housing.
- Work Light (Optional): A work light can provide additional illumination, especially if you are working in a dimly lit area.
- Clean Cloth or Rags: Use these to wipe down any dirty surfaces or components you encounter during the replacement process.
- Parts Tray: Keep a small tray or container handy to hold any screws or small parts you remove, ensuring they don’t get lost.
 Cabin Air Filter for Toyota
3. Where Is the Cabin Air Filter Located in a 2017 Toyota Highlander?
The cabin air filter in a 2017 Toyota Highlander is typically located behind the glove compartment. This placement is common in many vehicles because it provides easy access for replacement and maintenance.
Here’s a step-by-step guide to finding it:
-
Locate the Glove Compartment: Start by opening the glove compartment on the passenger side of the vehicle.
-
Empty the Glove Compartment: Remove all items from the glove compartment to make it lighter and easier to handle.
-
Detach the Glove Compartment:
- Release the Dampener: On the right side of the glove compartment, you may find a dampener or support arm that slows the glove compartment’s opening. Gently detach this arm by squeezing the end and pulling it free from its mounting point.
- Remove the Stopper Pins: Squeeze the sides of the glove compartment inward to release the stopper pins from their slots. This will allow the glove compartment to swing down further.
-
Access the Filter Housing: Once the glove compartment is fully lowered, you will see a rectangular cover behind it. This is the cabin air filter housing.
-
Remove the Housing Cover: The cover is usually held in place by clips or tabs. Squeeze or release these clips to remove the cover and expose the cabin air filter.
4. How Do You Remove the Old Cabin Air Filter from a 2017 Toyota Highlander?
Removing the old cabin air filter from your 2017 Toyota Highlander is a straightforward process. Follow these steps to ensure you do it correctly:
-
Access the Filter Housing: As mentioned earlier, the cabin air filter housing is located behind the glove compartment. Lower the glove compartment to expose the rectangular cover of the filter housing.
-
Remove the Housing Cover:
- The cover is typically held in place by one or two clips or tabs.
- Gently squeeze the sides of the cover or use a small screwdriver to release the clips.
- Once the clips are released, remove the cover to expose the cabin air filter.
-
Inspect the Filter:
- Before removing the old filter, take a moment to inspect its condition. Note the amount of dirt, dust, and debris accumulated on the filter. This will give you an idea of how often the filter needs to be replaced.
- Also, note the direction of airflow indicated on the filter. Usually, there is an arrow showing which way the air flows through the filter. This is important for installing the new filter correctly.
-
Remove the Old Filter:
- Gently pull the old cabin air filter straight out of the housing. Be careful not to let any loose debris fall into the HVAC system.
- If the filter is stuck, wiggle it gently to loosen it before pulling it out.
-
Dispose of the Old Filter:
- Place the used cabin air filter in a plastic bag to prevent the spread of dust and allergens.
- Dispose of the old filter properly, following local regulations for waste disposal.
5. How to Clean the Cabin Air Filter Housing in a 2017 Toyota Highlander?
Cleaning the cabin air filter housing in your 2017 Toyota Highlander is an essential step to ensure that the new filter operates efficiently and the air circulating in your vehicle is as clean as possible. Here’s how to do it properly:
-
Prepare the Area:
- After removing the old cabin air filter, take a moment to prepare the area around the filter housing.
- Use a clean cloth or paper towels to catch any debris that may fall out of the housing during the cleaning process.
-
Vacuum the Housing:
- Use a small vacuum cleaner with a hose attachment to thoroughly vacuum the inside of the filter housing.
- Pay attention to the corners and edges of the housing, where dust and debris tend to accumulate.
- If you don’t have a vacuum cleaner, you can use a soft brush or cloth to gently sweep out any loose particles.
-
Wipe Down the Interior:
- Dampen a clean cloth with a mild cleaning solution or just plain water.
- Wipe down the interior surfaces of the filter housing to remove any remaining dirt or grime.
- Avoid using harsh chemicals or abrasive cleaners, as they may damage the plastic components of the housing.
-
Clean the Housing Cover:
- Don’t forget to clean the housing cover as well. Wipe it down with a damp cloth to remove any dust or dirt.
- If the cover has any stubborn stains or grime, you can use a mild cleaning solution to clean it more thoroughly.
-
Dry the Housing:
- Allow the filter housing and cover to air dry completely before installing the new cabin air filter.
- You can use a clean, dry cloth to speed up the drying process.
6. How to Install the New Cabin Air Filter in a 2017 Toyota Highlander?
Installing the new cabin air filter in your 2017 Toyota Highlander is a crucial step to ensure clean and fresh air inside your vehicle. Here’s how to do it correctly:
-
Prepare the New Filter:
- Remove the new cabin air filter from its packaging.
- Inspect the filter to ensure it is clean and free of any damage.
-
Identify the Airflow Direction:
- Locate the airflow direction arrow printed on the side of the new cabin air filter. This arrow indicates the direction in which air should flow through the filter.
- Make sure to install the filter with the arrow pointing in the correct direction. The airflow direction is typically indicated on the filter housing as well.
-
Insert the Filter:
- Hold the new cabin air filter with the airflow arrow pointing in the correct direction.
- Gently slide the filter into the filter housing.
- Make sure the filter is properly seated and aligned within the housing.
-
Replace the Housing Cover:
- Once the filter is in place, reinstall the housing cover.
- Align the cover with the filter housing and press it into place.
- Make sure the clips or tabs are securely fastened to hold the cover in place.
-
Ensure Proper Fit:
- Double-check that the cabin air filter and housing cover are properly installed and securely fastened.
- Ensure that there are no gaps or openings around the filter housing that could allow unfiltered air to enter the cabin.
7. How to Reassemble the Glove Compartment in a 2017 Toyota Highlander?
Reassembling the glove compartment in your 2017 Toyota Highlander is the final step after replacing the cabin air filter. Follow these instructions to ensure everything is put back together correctly:
-
Align the Glove Compartment:
- Lift the glove compartment back into its original position, aligning the hinges with their corresponding slots in the dashboard.
- Ensure that the glove compartment is level and properly aligned before proceeding.
-
Reattach the Stopper Pins:
- Squeeze the sides of the glove compartment inward to align the stopper pins with their slots in the dashboard.
- Gently push the glove compartment inward until the stopper pins snap into place.
- Make sure the stopper pins are securely fastened to prevent the glove compartment from swinging down too far.
-
Reattach the Dampener (If Applicable):
- If your glove compartment has a dampener or support arm, reattach it to its mounting point.
- Align the end of the dampener with the mounting point and gently push it into place until it clicks or snaps in.
- Ensure that the dampener is securely attached and functioning properly to slow the opening of the glove compartment.
-
Test the Glove Compartment:
- Open and close the glove compartment several times to ensure that it operates smoothly and without any obstructions.
- Check that the glove compartment door closes securely and latches properly.
-
Return Items to the Glove Compartment:
- Once you are satisfied that the glove compartment is properly reassembled, return any items that you removed from it earlier.
- Arrange the items neatly inside the glove compartment to prevent them from interfering with its operation.
8. How Often Should You Replace the Cabin Air Filter in a 2017 Toyota Highlander?
You should replace the cabin air filter in your 2017 Toyota Highlander approximately every 12,000 to 15,000 miles, or at least once a year.
The frequency of cabin air filter replacement depends on several factors, including:
- Driving Conditions: If you frequently drive in dusty or polluted areas, you may need to replace the filter more often.
- Air Quality: In regions with high pollen counts or poor air quality, the filter can become clogged more quickly.
- Personal Preferences: Some drivers prefer to replace the filter more frequently to ensure the freshest possible air inside the cabin.
9. What Are the Signs That the Cabin Air Filter Needs to Be Replaced in a 2017 Toyota Highlander?
Several signs indicate that the cabin air filter in your 2017 Toyota Highlander needs to be replaced. Recognizing these symptoms can help you maintain optimal air quality and HVAC system performance. Here are some common indicators:
- Reduced Airflow: One of the most noticeable signs of a clogged cabin air filter is a decrease in airflow from the vents. If you find that the air conditioning or heating isn’t as strong as it used to be, it could be due to a restricted filter.
- Unpleasant Odors: A dirty cabin air filter can trap odors, such as mold, mildew, or musty smells, which can then circulate inside the vehicle. If you notice any unusual or foul odors coming from the vents, it’s time to check the filter.
- Noisy HVAC System: A clogged cabin air filter can cause the HVAC system to work harder, leading to unusual noises, such as whistling or straining sounds.
- Allergic Reactions: If you or your passengers experience increased allergy symptoms, such as sneezing, coughing, or watery eyes, while inside the vehicle, it could be due to a dirty cabin air filter trapping allergens.
- Fogging Windows: A restricted cabin air filter can reduce the effectiveness of the defroster, causing the windows to fog up more easily.
- Visible Debris: Inspecting the cabin air filter can reveal visible debris, such as leaves, dust, insects, or other particles. If the filter is heavily soiled, it needs to be replaced.
- HVAC System Issues: In some cases, a severely clogged cabin air filter can cause the HVAC system to malfunction or overheat.
10. Can You Replace the Cabin Air Filter Yourself, or Should You Go to a Professional at Miller Toyota?
You can replace the cabin air filter yourself, or you can go to a professional at Miller Toyota. Replacing the cabin air filter in a 2017 Toyota Highlander is a straightforward maintenance task that most vehicle owners can perform themselves. However, there are situations where seeking professional assistance from Miller Toyota in Boise, Idaho, might be preferable.
Replacing the Cabin Air Filter Yourself:
-
Pros:
- Cost Savings: Doing it yourself can save money on labor costs.
- Convenience: You can replace the filter at your convenience, without needing to schedule an appointment.
- Familiarity: Performing the task yourself can give you a better understanding of your vehicle’s maintenance needs.
-
Cons:
- Time Investment: It requires your time and effort to purchase the filter and perform the replacement.
- Potential Issues: If you’re not familiar with the process, you might encounter difficulties or make mistakes.
- Warranty Concerns: Using non-OEM parts could potentially affect your vehicle’s warranty, although this is rare.
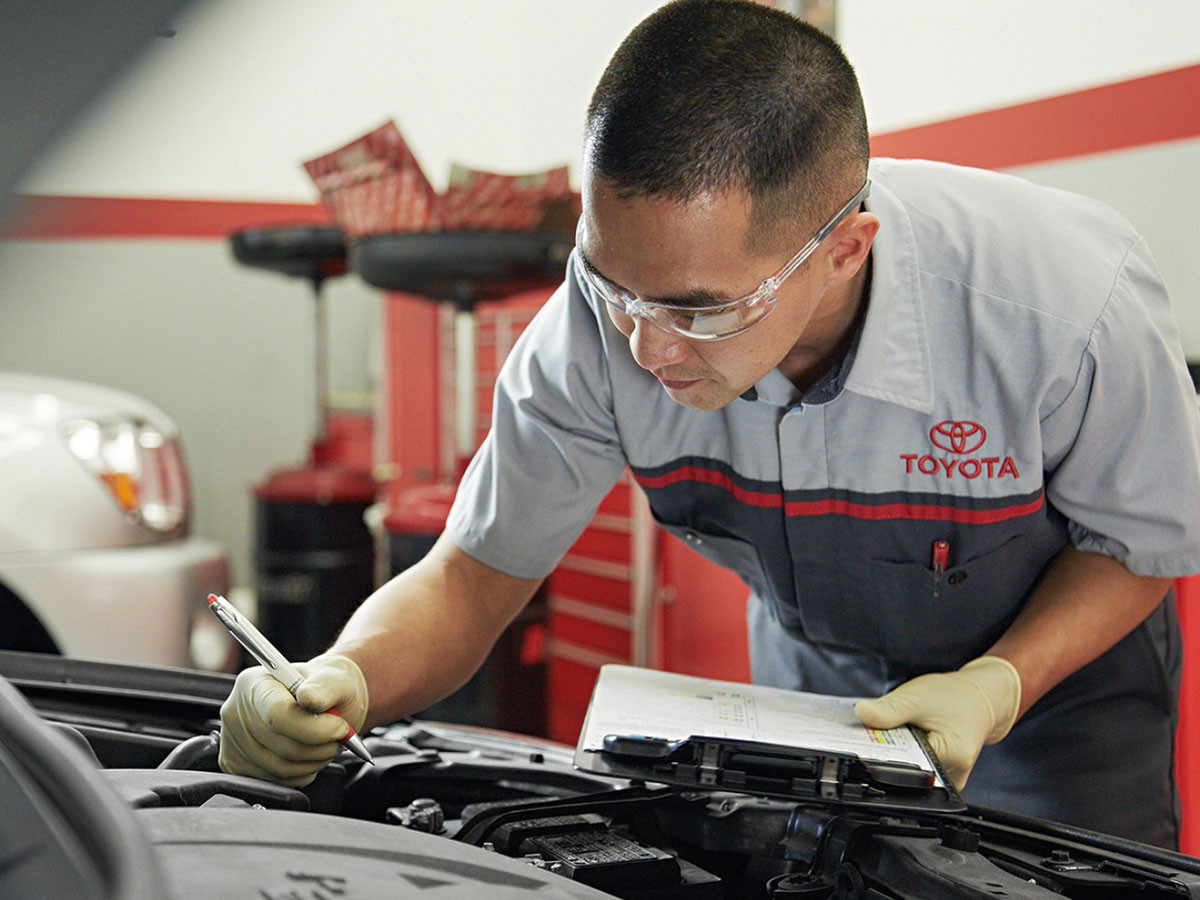
Going to a Professional at Miller Toyota:
-
Pros:
- Expertise: Certified technicians have the knowledge and experience to perform the replacement quickly and correctly.
- Genuine Parts: Miller Toyota uses genuine OEM parts, ensuring proper fit and performance.
- Convenience: Scheduling an appointment and having the service done by professionals saves you time and effort.
- Warranty Protection: Using Miller Toyota for service ensures that your vehicle’s warranty remains intact.
-
Cons:
- Higher Cost: Professional service typically costs more than doing it yourself due to labor charges.
- Scheduling: You need to schedule an appointment, which might not always be convenient.
According to customer satisfaction surveys in Boise, Idaho, in July 2025, P provides excellent service. Choosing to replace the cabin air filter yourself can be a cost-effective and satisfying option, especially if you enjoy basic car maintenance. However, if you prefer the convenience, expertise, and assurance of genuine parts, having the service performed by a professional at Miller Toyota is a reliable choice.
To explore Toyota models and services, or to schedule an appointment, visit millertoyota.net. You can also visit us at 208 N Maple Grove Rd, Boise, ID 83704, United States or call us at +1 (208) 376-8888.