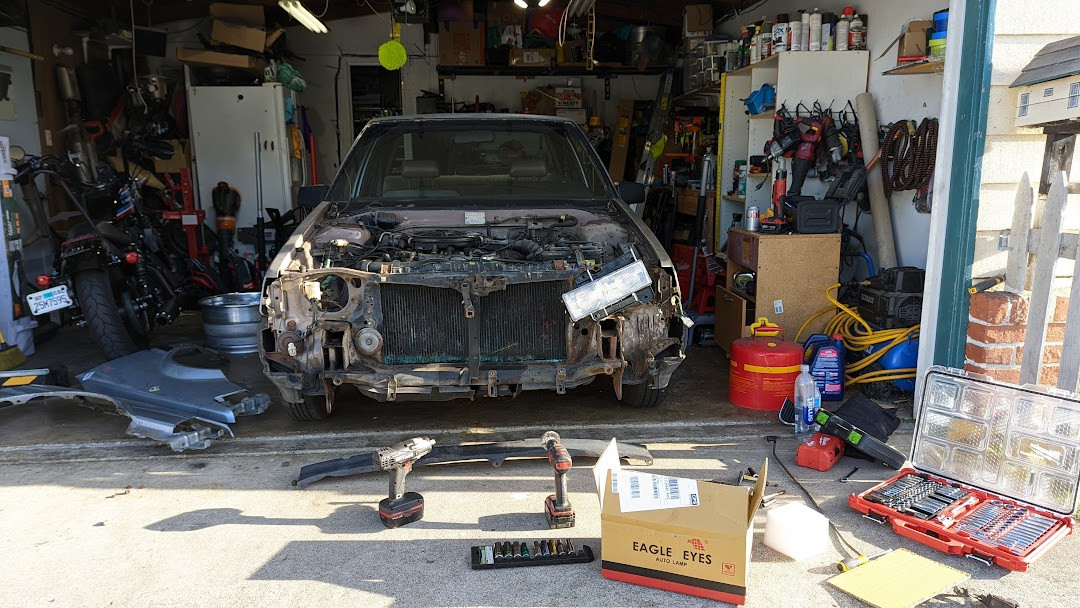
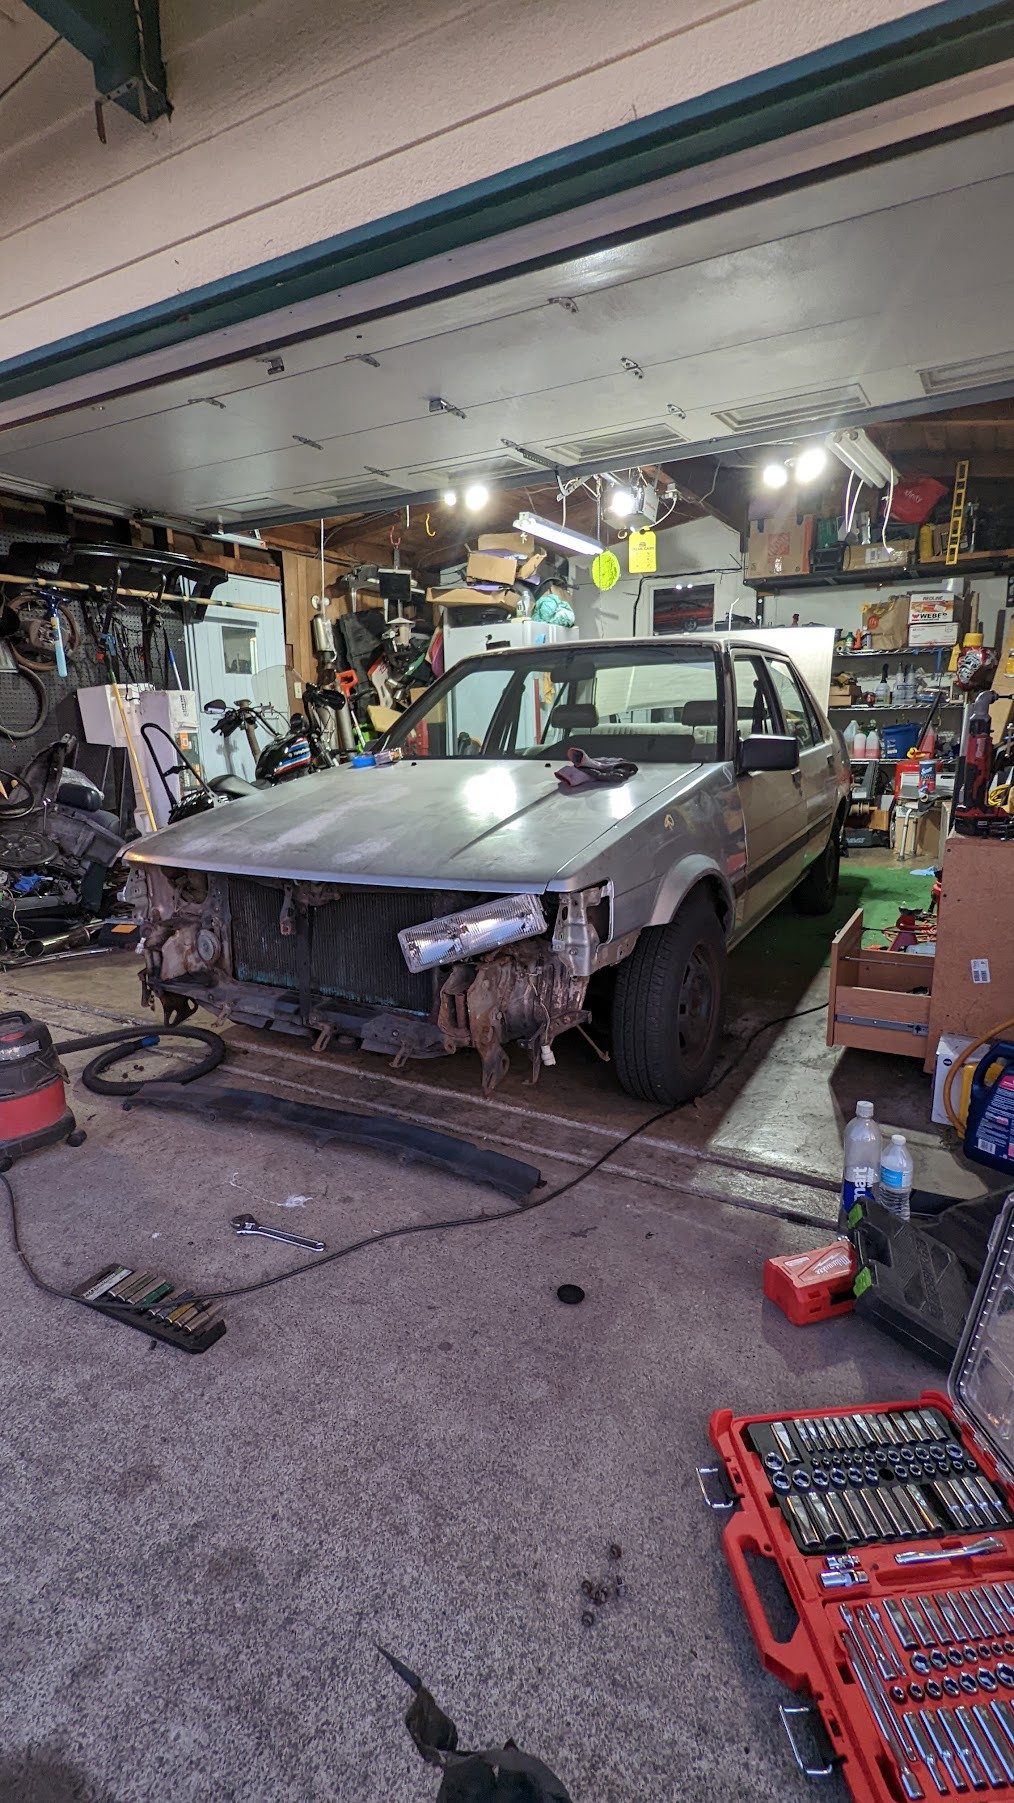
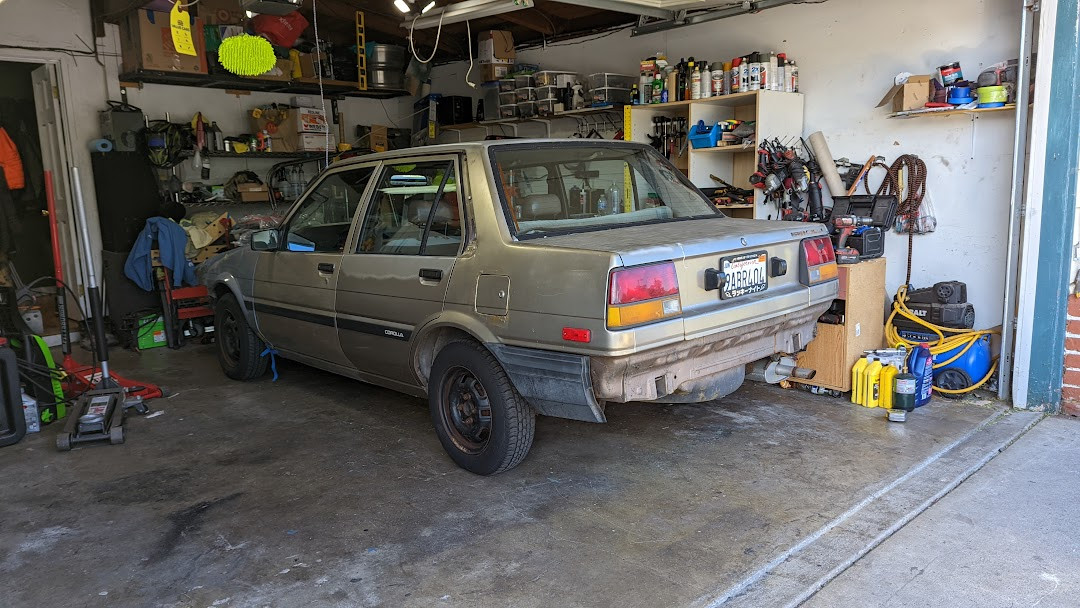
Last year, I picked up a 1985 Toyota Corolla Sedan base model with a 5-speed manual transmission. My goal? To transform this boxy classic into a Kaido racer. While cars like the Cressida or Celica Supra are more commonly chosen for this style, I felt the Corolla’s silhouette was perfect for a unique Kaido build. It’s true the car had seen better days, showing its age with rust and some less-than-perfect repairs, likely due to its life near the coast. However, the mileage was relatively low for its age, sitting around 130,000 miles. Here’s how it looked when I first got it.
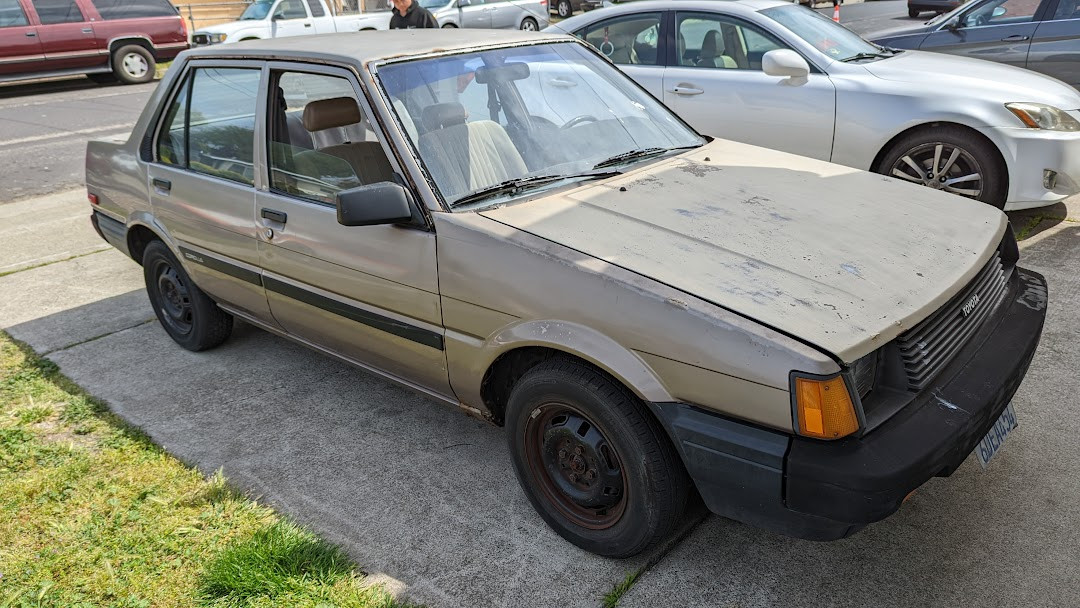 Front view of a weathered 1985 Toyota Corolla sedan in need of restoration
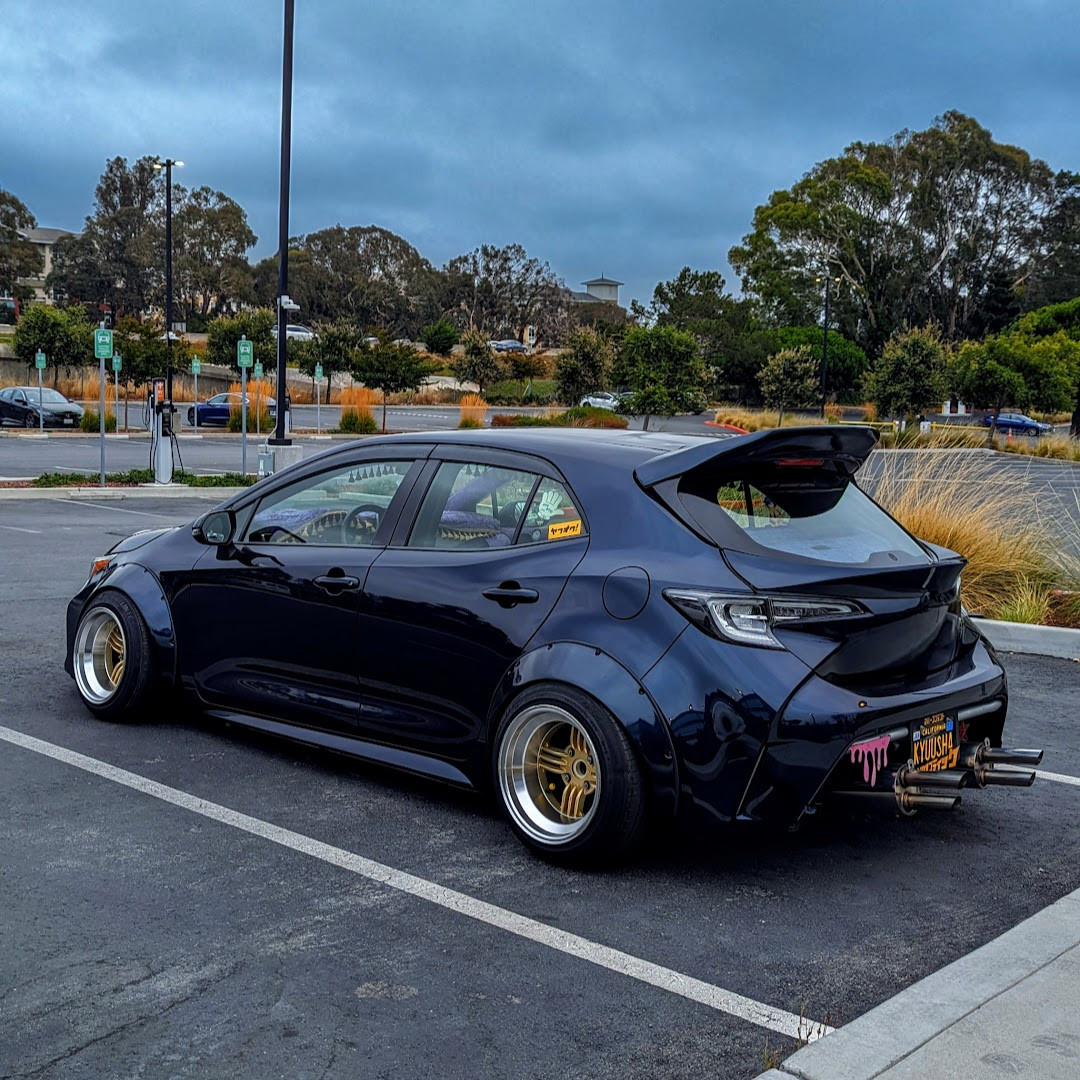
The Kaido racer inspiration came from my younger brother, who had turned his 1997 Lexus LS400 into one – definitely an unexpected choice for the style! I was eager to have my own Kaido racer, especially since my newer 2019 Toyota Corolla hatchback, while sporting 80s JDM-inspired modifications, just didn’t quite fit the Kaido aesthetic.
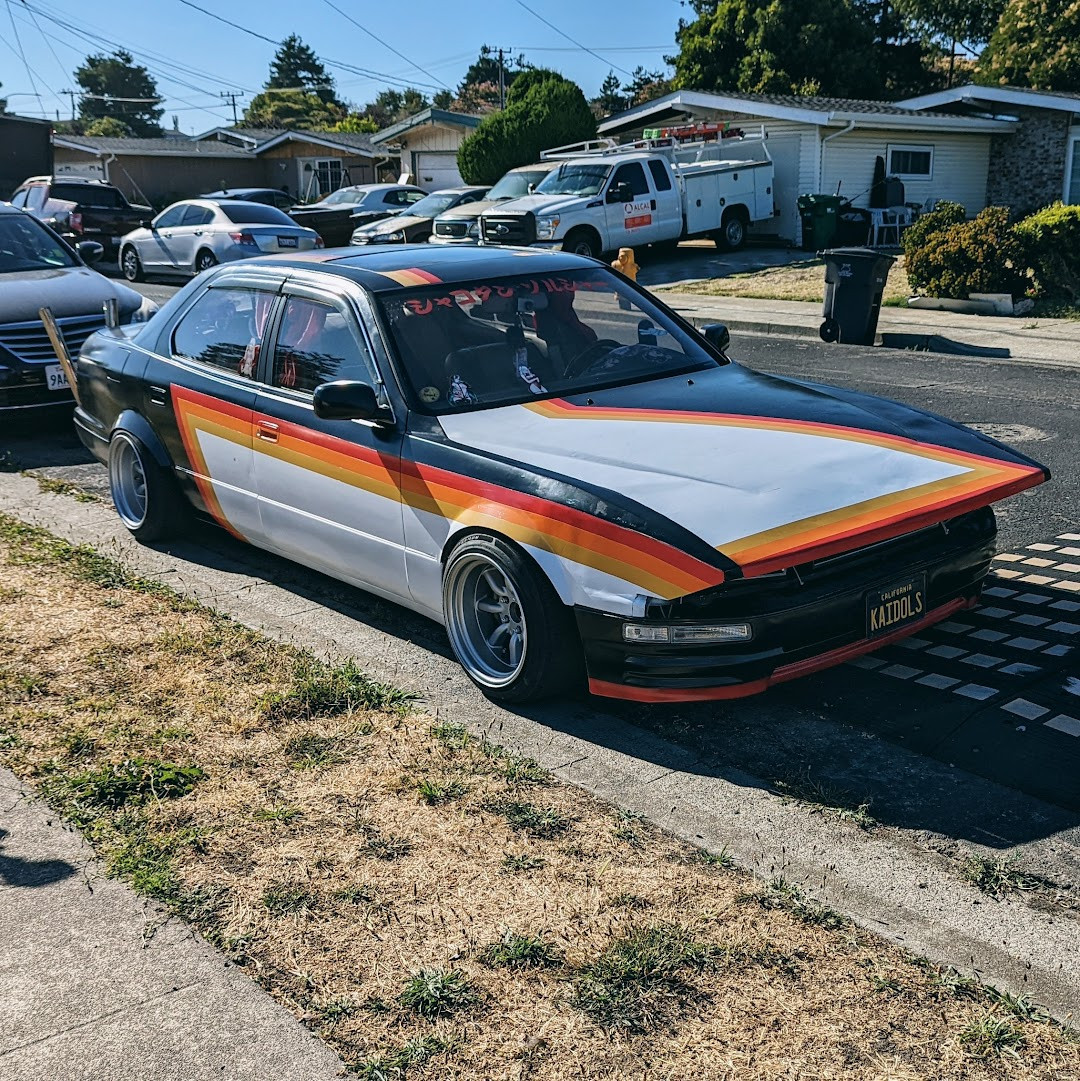 Side view of a modified 1997 Lexus LS400 showcasing Kaido racer styling
 Rear angled view of the custom Lexus LS400 Kaido racer build
With the AE82 Corolla in my possession, I immediately started working on the signature Kaido racer “long nose” front end. As a first step, I unbolted the hood and shifted it forward. To visualize the extended fenders needed for the long nose, I used cardboard taped onto the existing fenders to mock up the extensions.
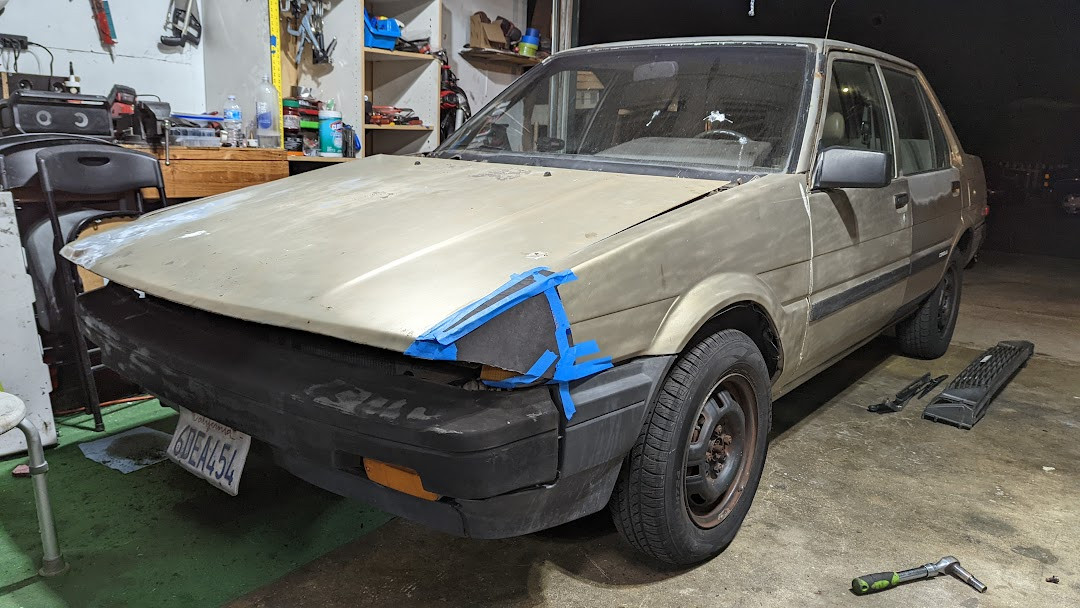 Mock-up of a long nose modification on a 1985 Toyota Corolla using cardboard extensions
I then made a few simple initial modifications, like swapping the shift knob from my 2019 Corolla into the 1985 model. I also began gathering essential maintenance parts to ensure the classic Corolla was mechanically sound.
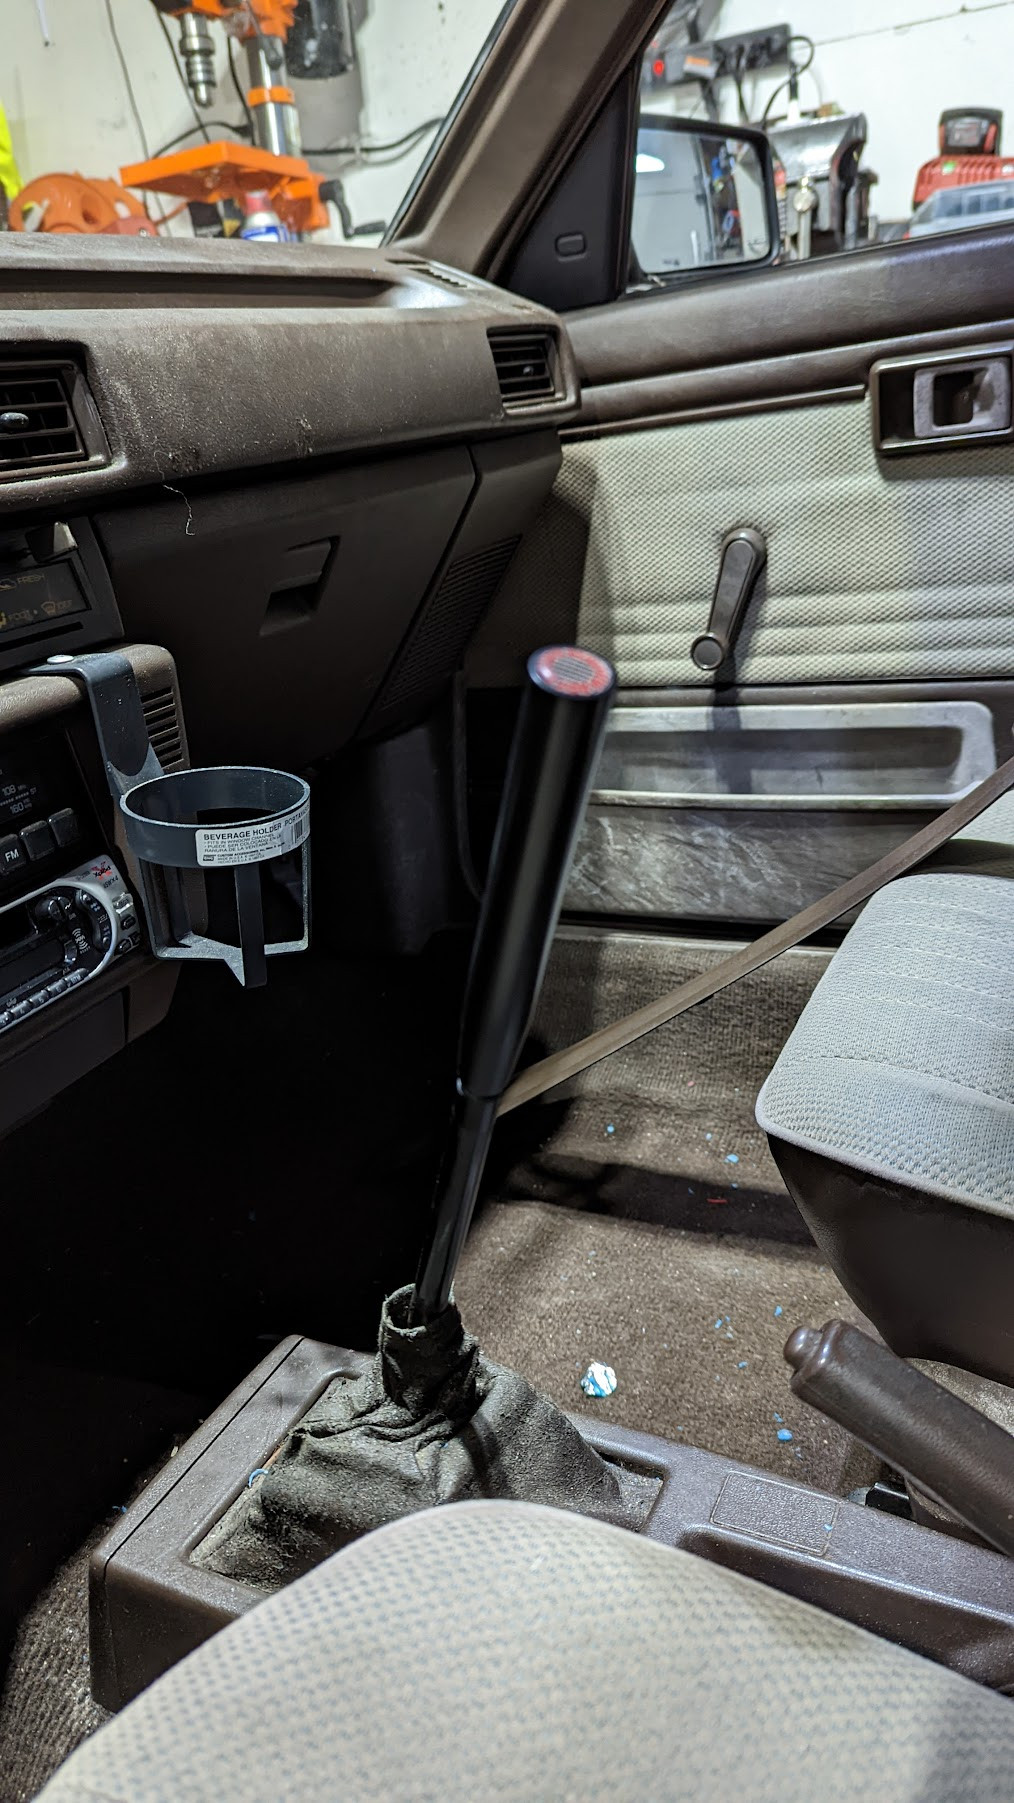 Close-up of a shift knob swapped from a modern Toyota Corolla into the 1985 model
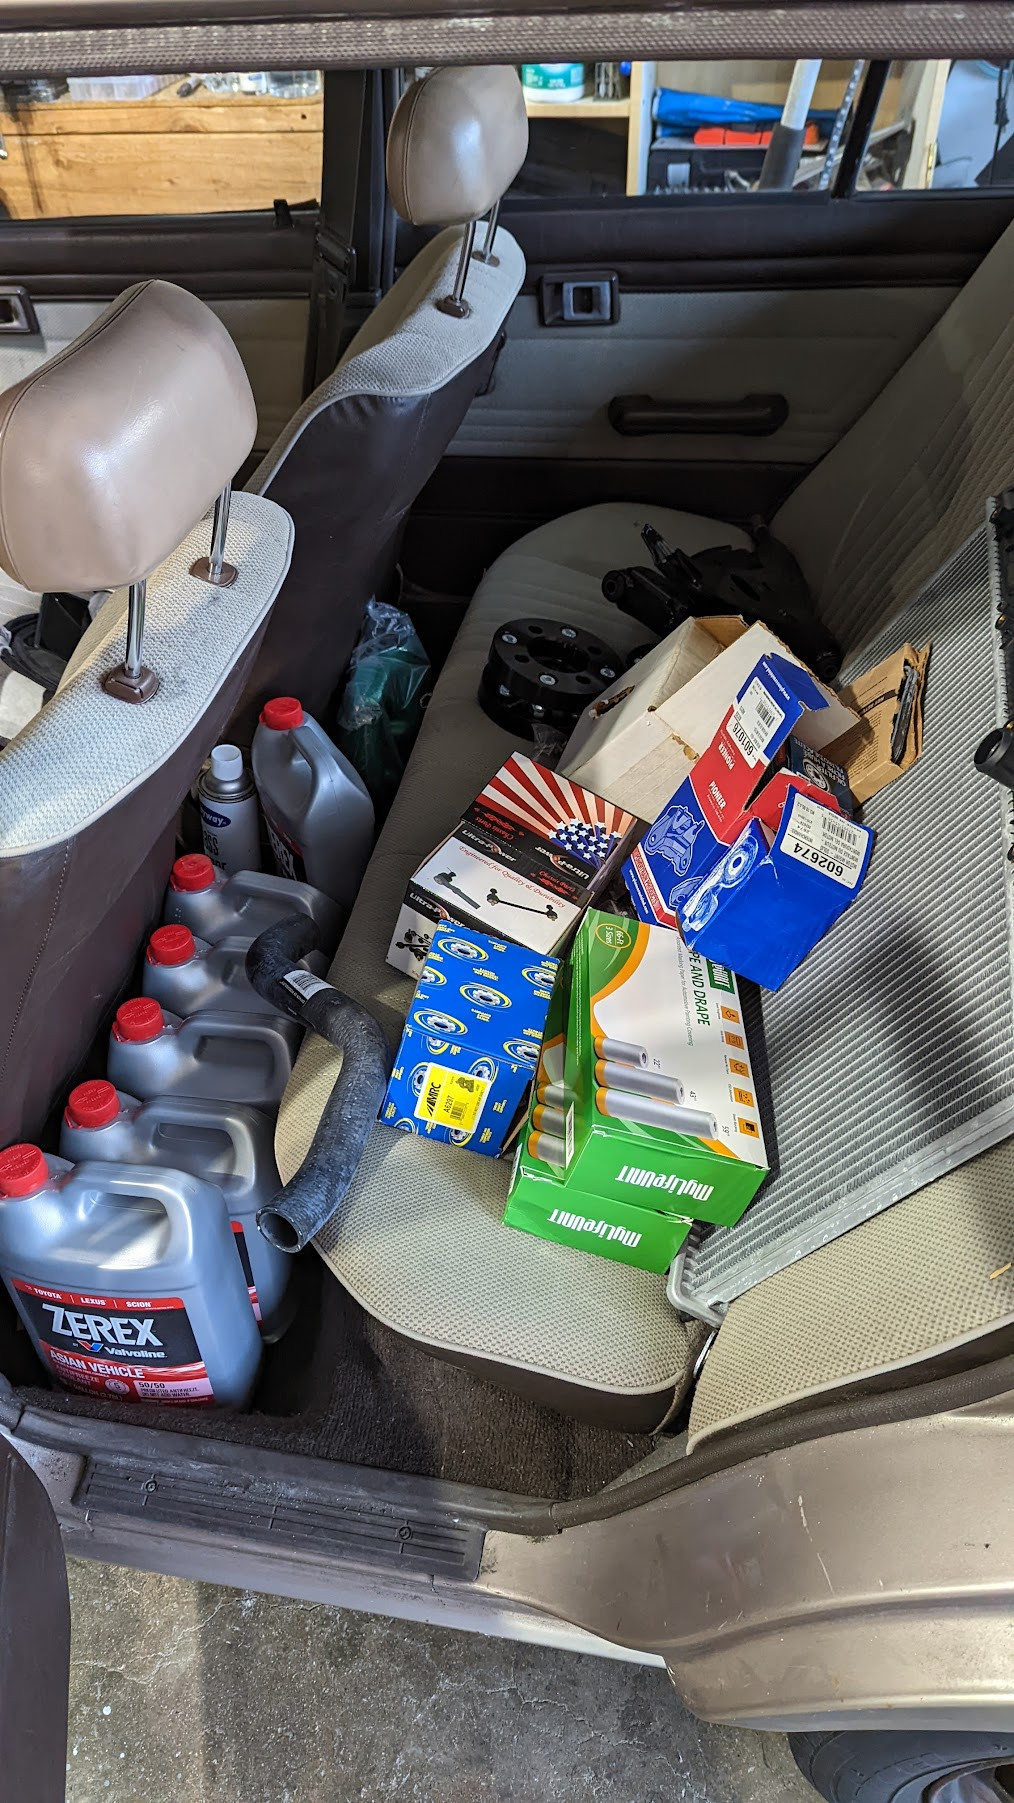 Collection of maintenance parts for a 1985 Toyota Corolla, including filters and fluids
Steering wheels are a key element in the Kaido racer style, often being small diameter. I was on the hunt for a wheel that captured that specific look, but finding something exactly like the commonly used ones proved difficult. In the end, I opted for an affordable Grant steering wheel as a starting point.
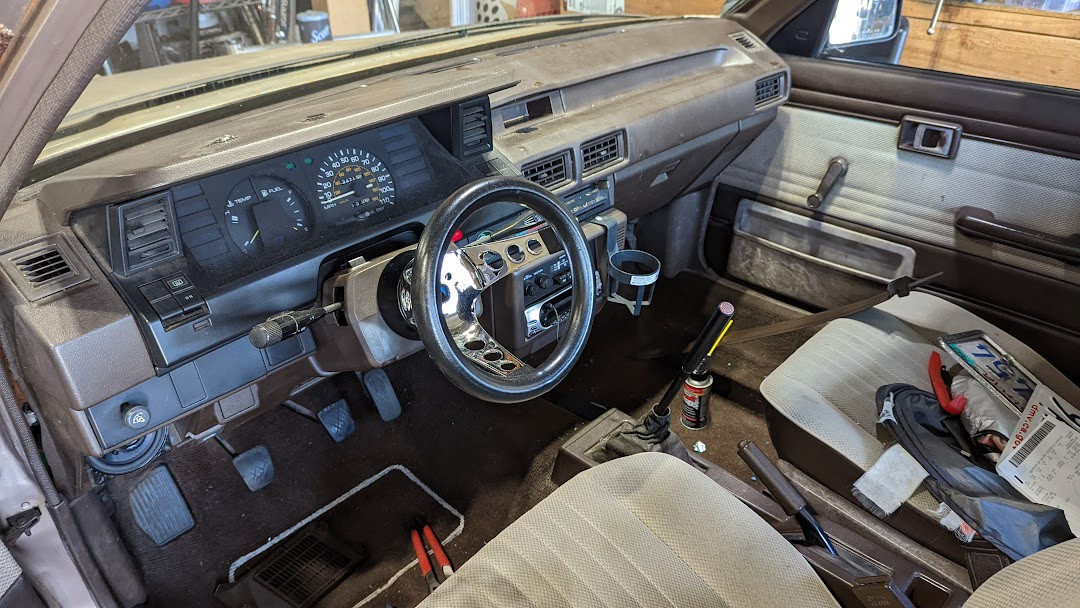 Installation of a Grant aftermarket steering wheel in a 1985 Toyota Corolla
Now, let’s get back to the long nose fabrication. Typically, these extensions are constructed by creating a frame from square tubing. This frame provides support for sheet metal or fiberglass, which is then shaped to form the extended front end, as seen on my brother’s LS400 build. To save time and effort, I had a different idea: using a second set of Corolla hood and fenders to create the extension. Luckily, I found another AE82 Corolla in a local junkyard that still had a decent front end. I salvaged the front fenders and hood from it to use for my long nose project. I also sourced a pair of 90s Chevy Suburban/Tahoe headlights, intending to incorporate the tilted headlight style often seen in Kaido racer designs.
 Junkyard sourced parts, including a hood and fenders from an AE82 Toyota Corolla, for long nose modification
My plan was to utilize the junkyard AE82 fenders and hood as the primary extension material and modify the original Corolla fenders to create the necessary connecting pieces. Here’s a look at the front end with the junkyard parts swapped in and the Chevy headlight temporarily positioned. During fender removal, I also discovered significant rust issues near the bottom of the doors, another challenge to address in this restoration project.
 Front end of a 1985 Toyota Corolla with junkyard fenders and hood installed, and Chevy headlights mocked up
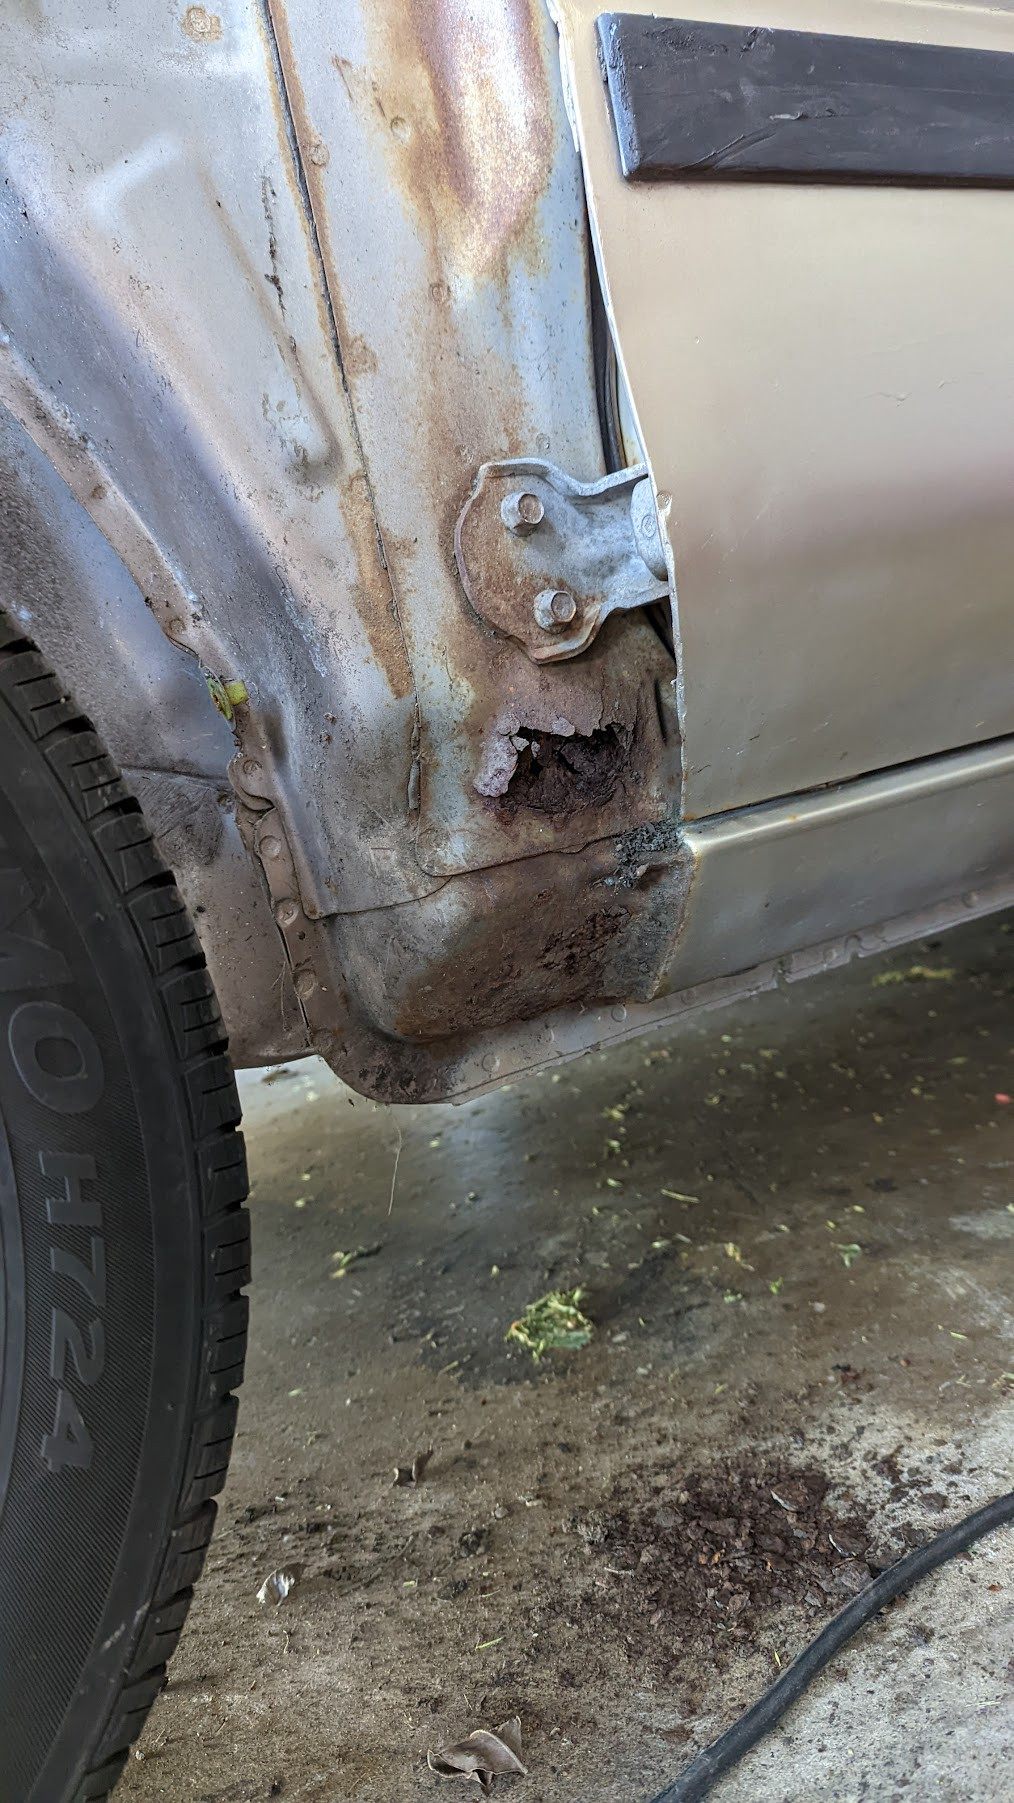 Close-up view of rust damage on the lower door area of the 1985 Toyota Corolla
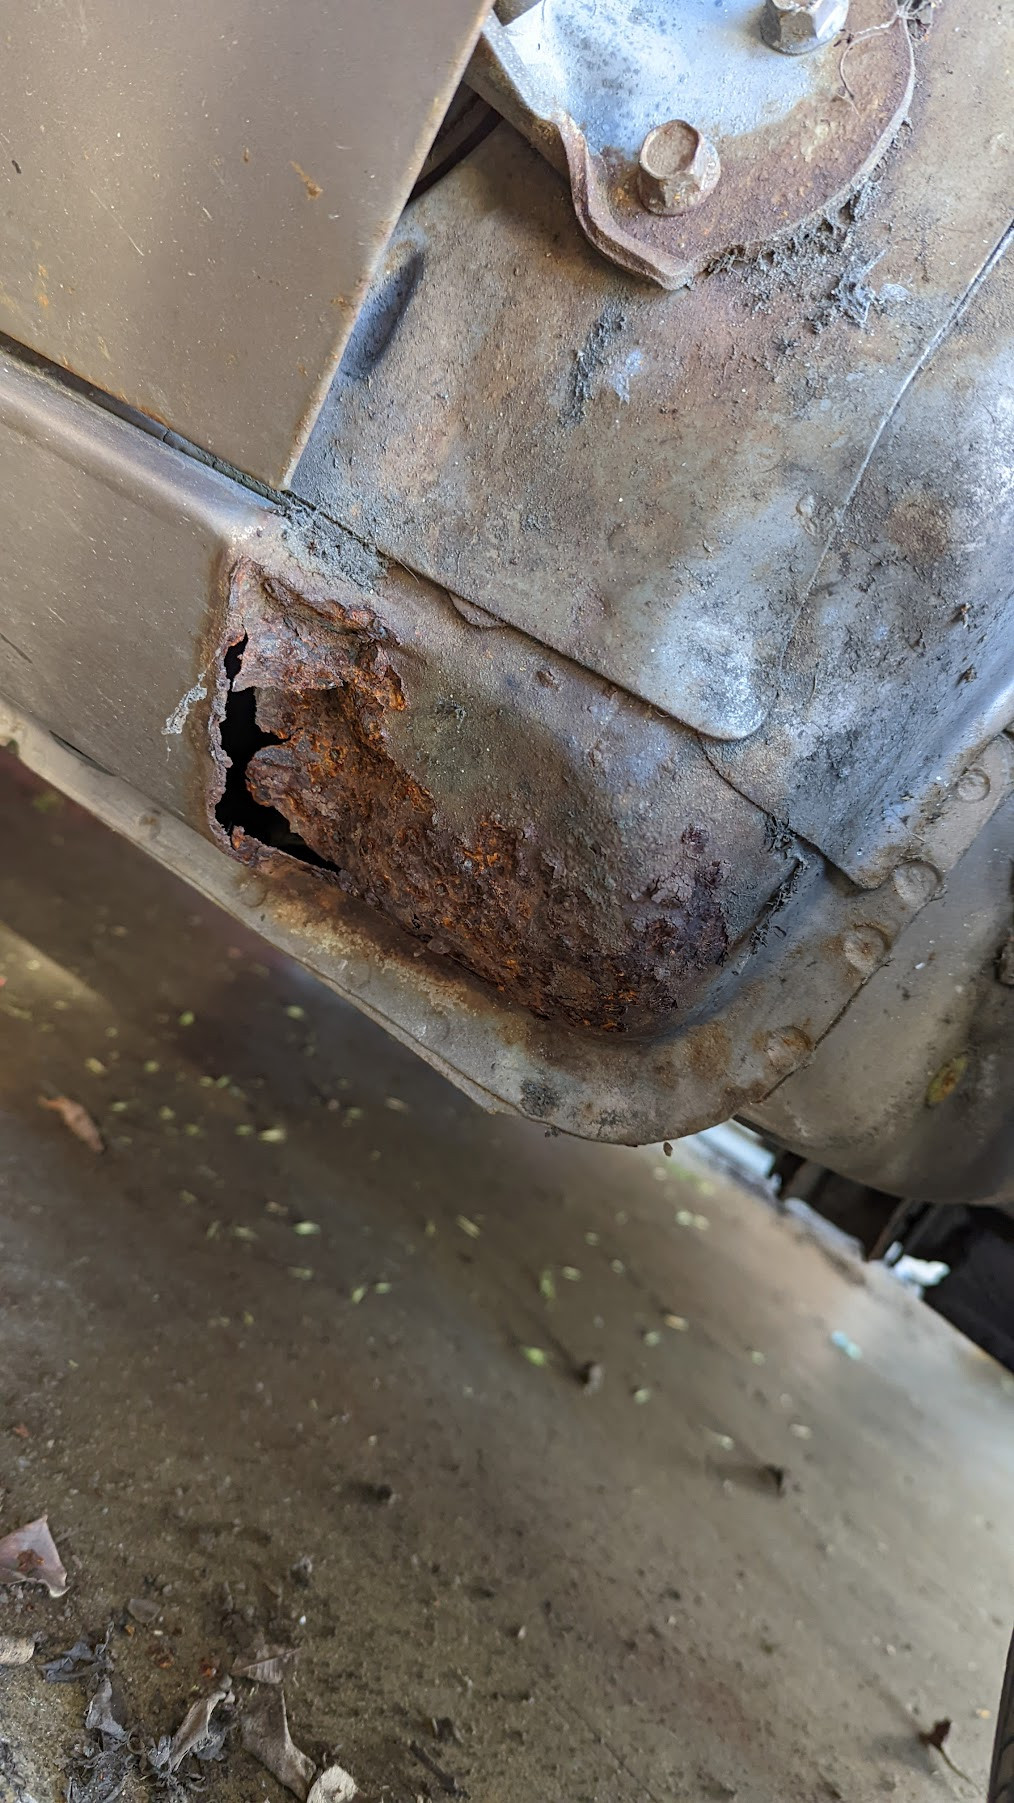 Detailed shot of corrosion and rust on the body panel of the classic Toyota Corolla
The following day, I marked out cutting lines on the original hood and fenders that I had removed from the 1985 Corolla and began cutting them apart. For the hood, I cut through the underside bracing and then measured approximately 15 inches back from the front edge, making a transverse cut. This section was then tacked onto the junkyard hood. I chose not to trim the junkyard hood because I needed to keep the hood latch mechanism intact. The piece I cut off from the original hood was welded directly onto the top surface of the replacement hood. I followed a similar approach with the fenders, but with a slight variation on each side to experiment with different fabrication methods. On one side, I overlaid the cut-off portion of the original fender onto the junkyard fender and welded it in place. On the other side, I fitted the original fender piece into the corner light area of the junkyard fender and tacked it. This was to evaluate which method would yield better results, although both presented their own set of challenges. I also fabricated small triangular pieces of sheet metal to fill in the front corners of the newly extended section, ensuring a smooth transition.
 Fabricated long nose extension panels for a 1985 Toyota Corolla, showing welding and metalwork
As you can see, by welding on a second set of hood and fenders to create the extended front end, I was able to preserve the original body lines of the hood and fenders. This saved a significant amount of time and effort that would have been needed to recreate these complex curves using body filler.
I briefly removed the front bumper to get a feel for the aggressive, stripped-down aesthetic, and I must admit, I thought the bumper-less look was quite appealing.
 Front view of the 1985 Toyota Corolla Kaido racer project with the front bumper temporarily removed
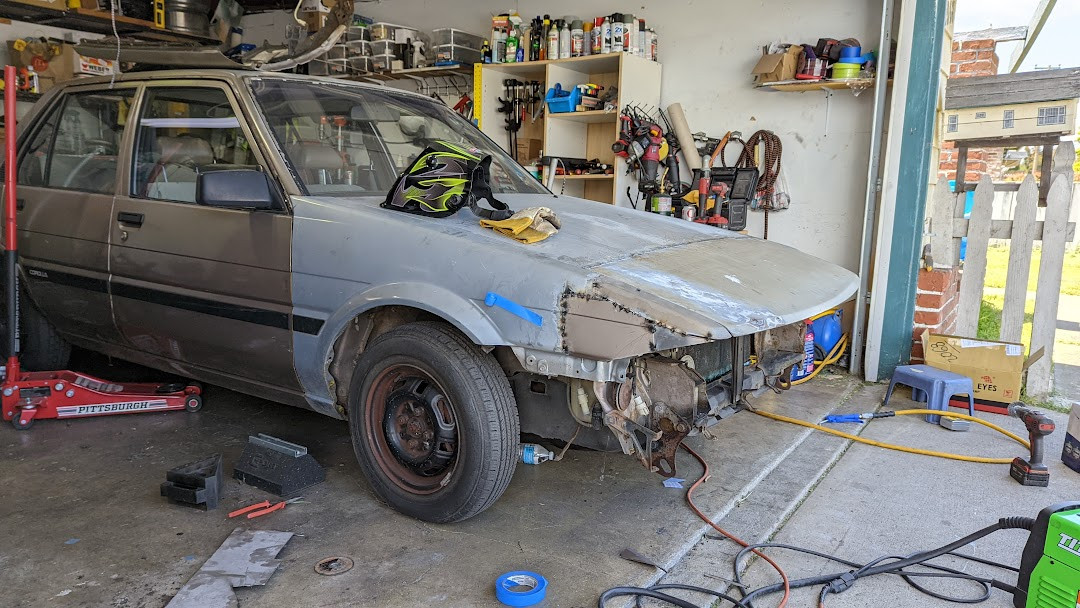
Next, I moved on to the bodywork phase of the long nose modification, beginning to refine the shape and smooth out the welded seams.
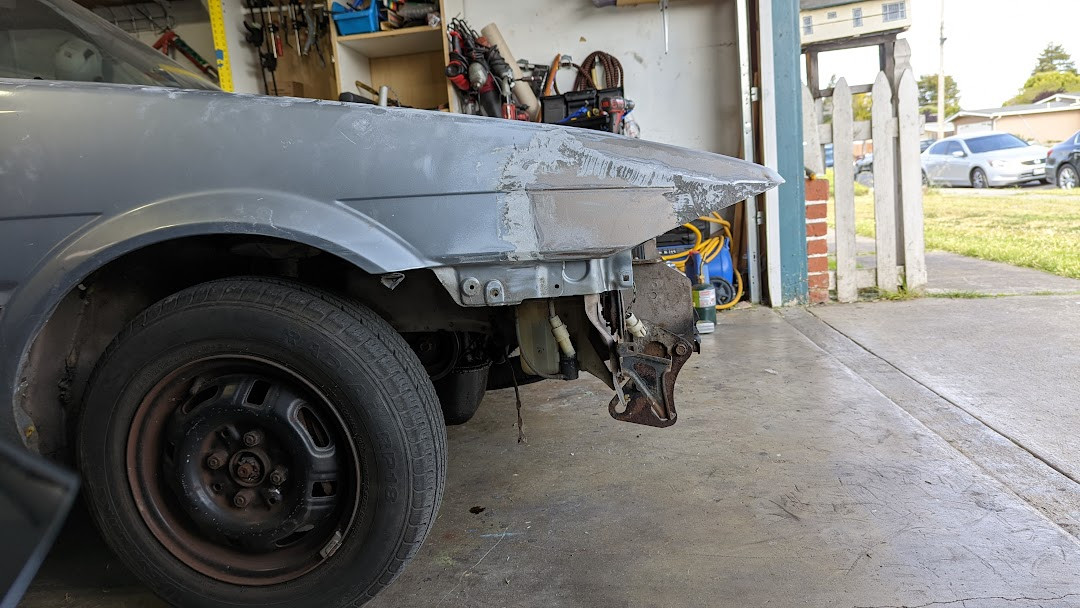 Bodywork in progress on the extended long nose of the 1985 Toyota Corolla project car
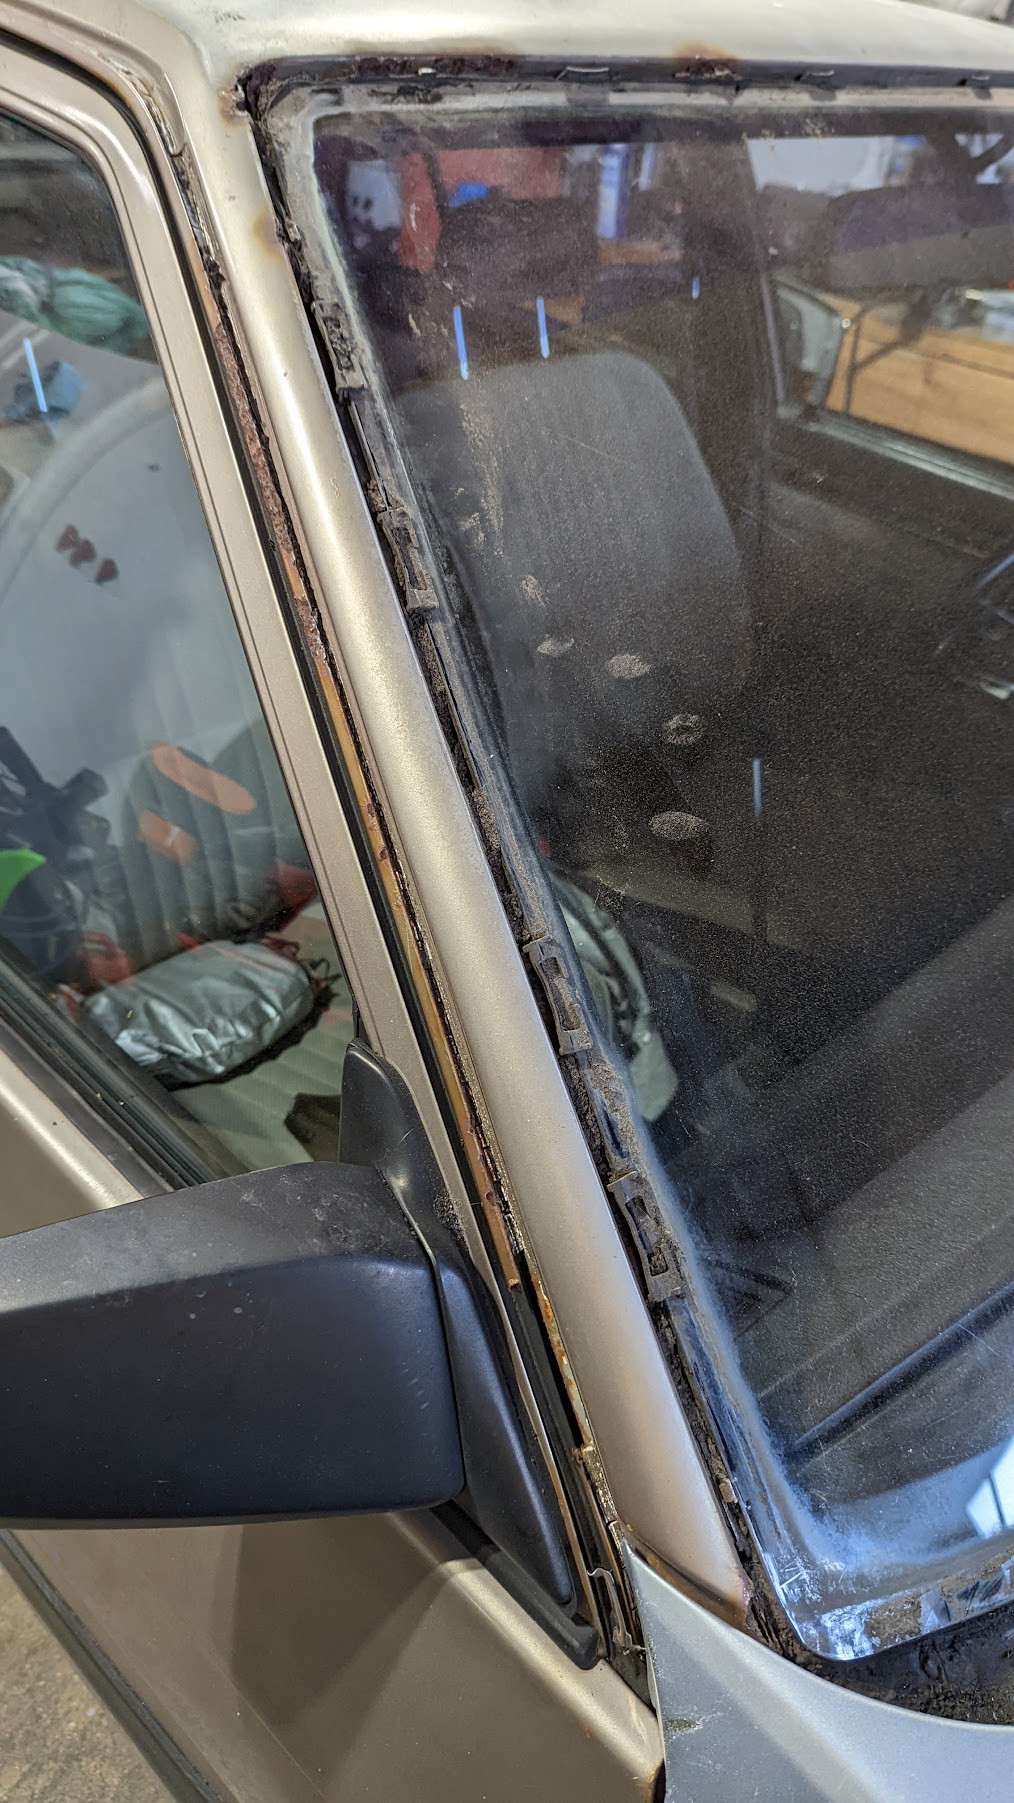
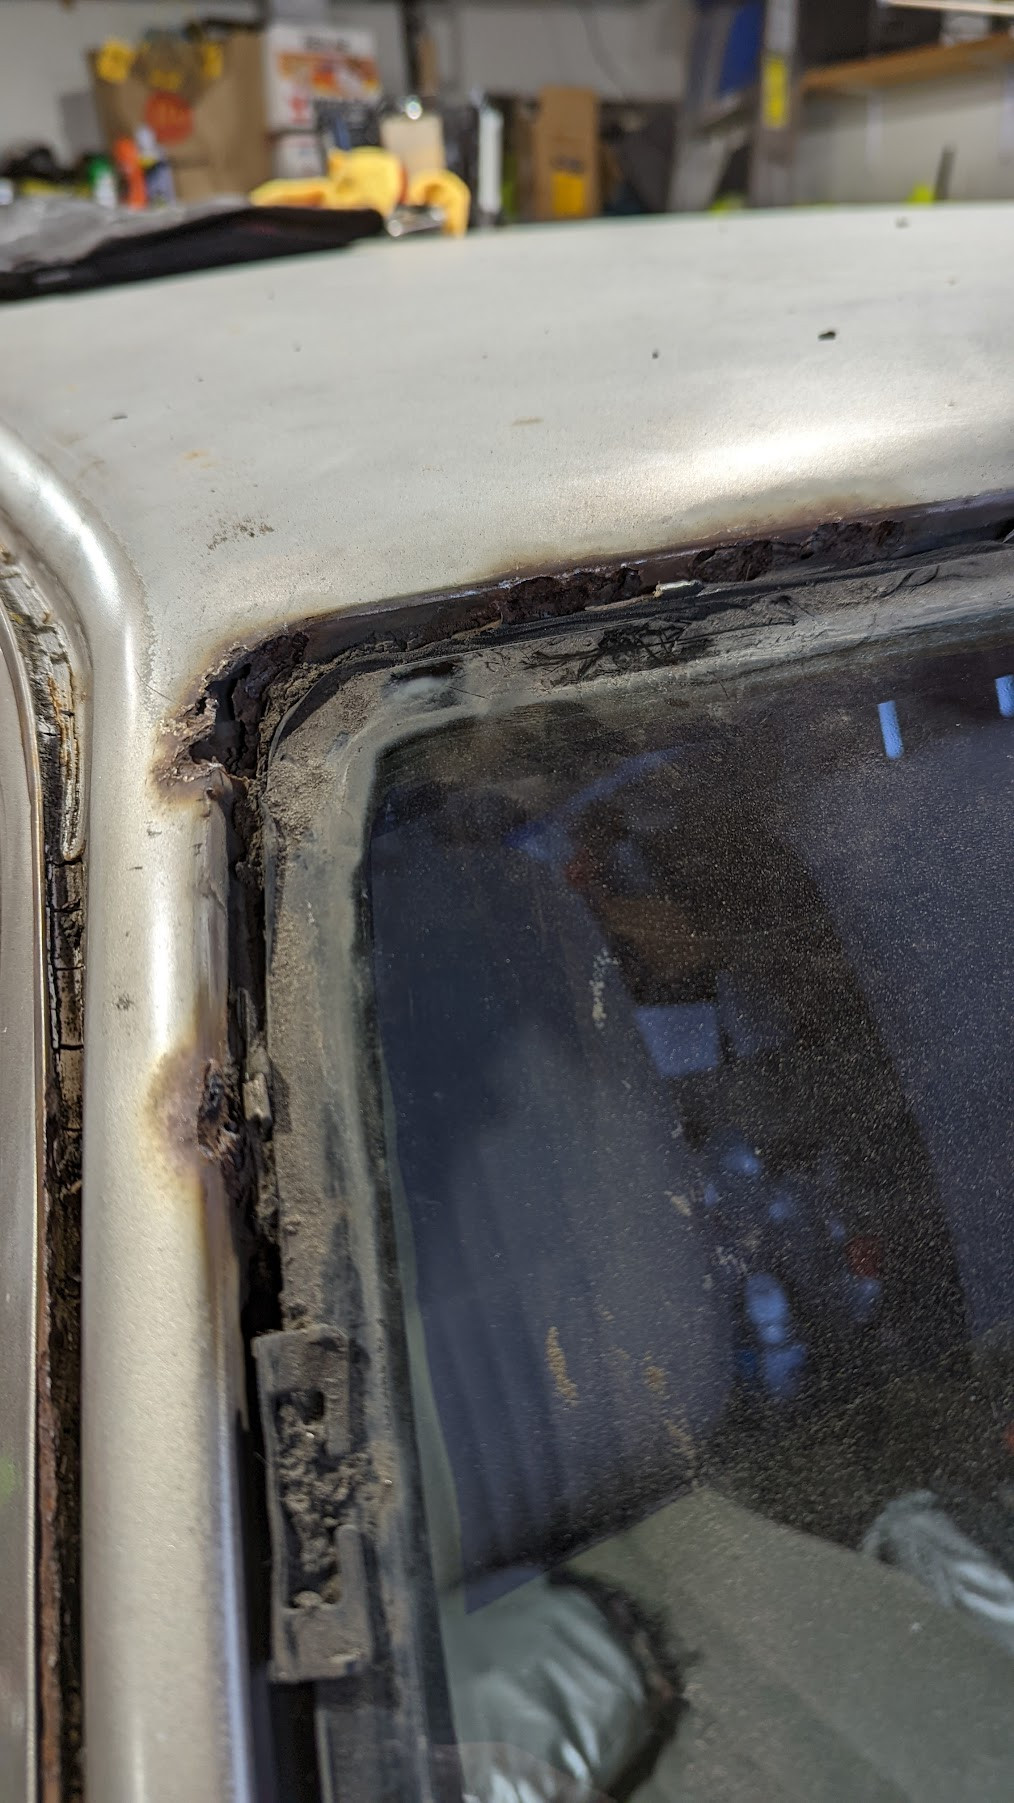
While removing the front windshield trim and side window trim in preparation for paint, I unfortunately uncovered more areas affected by rust, requiring further attention and repair.
 Rust discovered under the windshield trim of the 1985 Toyota Corolla during restoration
 Corrosion damage revealed beneath the side window trim of the vintage Corolla